Hope you all had a wonderful holiday weekend! Ours was fun as we tried to pack in the last of our summer activities before school starts back tomorrow.
It’s time for another Monthly DIY Challenge with my blogger friends! This month’s challenge was to create something for our home using rope. I was really excited about the theme and had the perfect project in mind! Be sure to check out all of the other awesome projects linked at the bottom of this post!

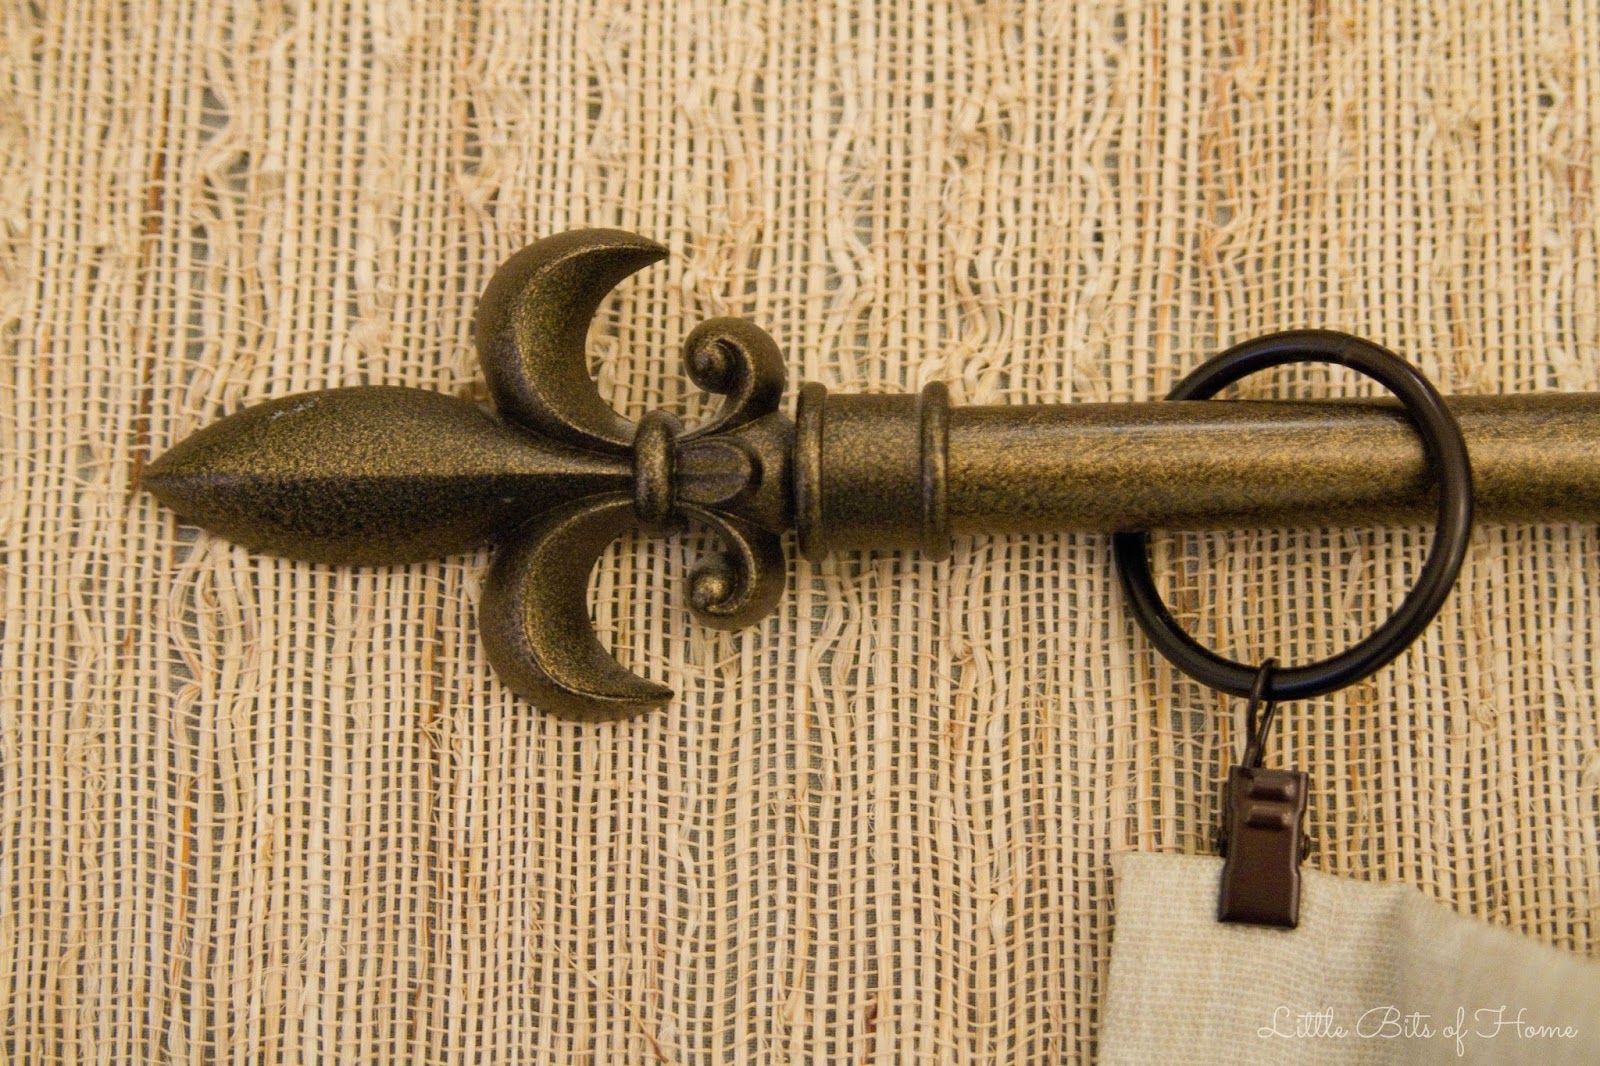
Our bedroom hasn’t seen much decorating love since we moved in three years ago. It’s been feeling dark and blah, so I’ve been trying to lighten it up and add some texture to the space. We inherited curtain rods for the room from the previous owners. I liked the color enough, but the finial was really not my style. I mean, it looks like a Saints logo and if you’ve been around this blog a while, you know I’m a die hard Patriots fan! 🙂 I decided to switch it up and create a finial out of rope!
To create my finials, I simply needed rope, craft balls, and glue. I originally purchased the rope at the hardware store, but it was too hairy for my liking. I ended up finding smoother rope at Michael’s along with the wooden craft balls. I was going to use E6000 glue to attach the new finial, but made a last second decision to use hot glue and it worked out great!

For each finial, we created a monkey fist knot out of the rope, slipping a wooden ball into the middle as we were making the knot. We used this video tutorial to figure out how to tie the knot. I love the chunkiness of the monkey fist knot!

Ready for a blogger confession? I tried and tried and and tried some more to tie that stinkin’ knot, but I simply am not the type of learner that can read a tutorial or watch a video for something and then be able to duplicate it. I need someone standing next to me, guiding me. In the end, I tasked my husband with watching a video tutorial and figuring out the knot. Of course, he figured it out in 5 minutes flat. Geesh! Haha! Here’s the video that he used:


 Rustic Rope Valance |
 Rope Wrapped Cans |
 Rope Picture Hanger |
 Pipe and Rope Shelves |
 Rope Finials |
 |

This is gorgeous, I am very partial to rope!! Really rustic and elegant at the same time.
What a great idea! It turned out SO cute!
I love, love how this turned out! I need to learn (or at least try to learn) how to tie one of those knots, and then I think I just might be making these for our cottage. Nice job!
These turned out awesome and they would go so great in our living room! Thanks so much for sharing this awesome tutorial!
Don't be hatin' on those Louisiana Fleur de Lis! 😉 I wish you could hear my terrible cajun accent to go along with that warning. Hahah.. love this!
I love the look! It gives it kind of a beach look too! Pinning!
Super cute! Adding to my home decor board!
These are amazing! I have always wonderd how these knots are made and thanks to you now I know! Not sure I would have figured it out either or had the patience for it!
This is so neat! I have it scheduled on Tailwind on several pin boards!
I love your rope finials Samantha! Featured at Be Inspired this morning. Thanks so much for sharing!
Awesome post! I would love to invite you to my new link party The Beautifully Creative Inspired. The party launches every Fridays at 9AM eastern time on 5 BLOGS! It runs until Wednesday night 😀 Hope you can party with us!
Your finials looks great! Love the texture and character that they add to your curtain rod. I've done some similar knot work – it's really complicated to figure out, so good on your husband for getting the knots done 🙂
Samantha, these are uber fun!!! Featured you today for Think & Make Thursday 🙂 Cheers!!
Thanks, Erin!
Me, too! Rope always seems to add just the right touch!
Bahahaha, I could totally hear you saying this! I'll mail you my old finials if you love them *that* much. Haha!
Thank you! Hope you give them a try!
Thanks, Jenny!!! I bet you could figure it out super fast! They'd go great with your rope valance!
Yes, me too! I had no clue what they were even called, so the google searching that went into this was pretty comical!
Thanks!!
Thank you!!
I'm impressed you do your own knots! I may or may not give my knots a stink eye for defeating me! 😉
I'll hop over there now! Thanks!
Thank you, thank you, thank you!
Thank you so much!
Thanks a million!!!!
Brilliant my friend. Absolutely brilliant! Thanks for sharing with the Pretty Preppy Party! – Heather http://www.southernstateofmindblog.com/
Awesome idea! I'm sooooo doing this for the rods in my little's room. Thanks for sharing at the Pretty Preppy Party – I'm featuring this one today! xx, b
great idea! To buy finials and a curtain rod like this you had o pay at least $50. I couldn’t justify that for a nursery. Instead of using wooden balls, I just bought a $6.00 curtain rod at Walmart that had round finials and put those in the middle of the monkey fist. It worked perfectly… or as perfectly as one can make a monkey fist knot, they are very stressful!