![]()
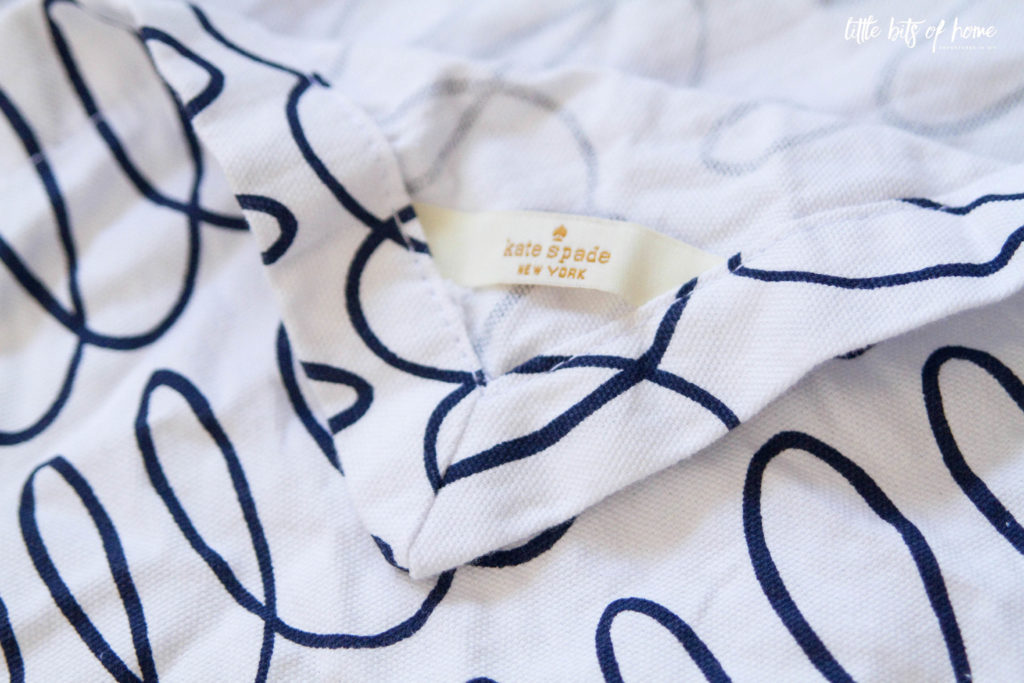
To further illustrate my point about my sewing aversion, let me tell you where I got the fabric. It’s a Kate Spade tablecloth I found on the cheap at Marshalls. Yup, I successfully avoided the fabric store for this project! No sewing machine, no tangled bobbins, no overwhelmed brain in the fabric store for this project. And I saved money going the tablecloth route, so there’s that. #winning #raisetheroof 😉
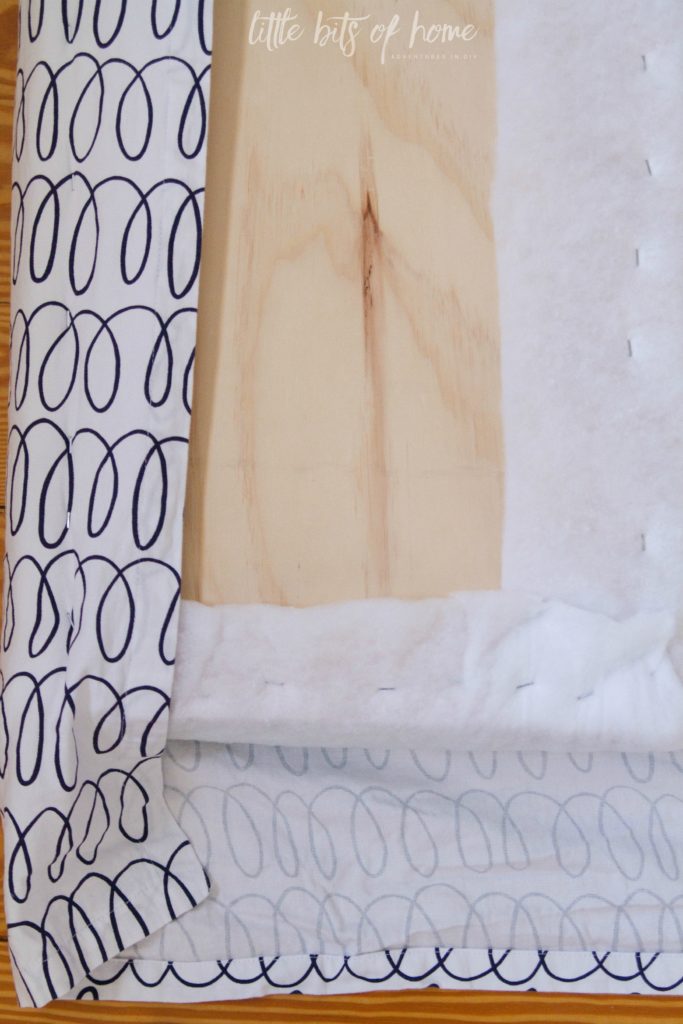
To create the base for the cushion, we cut a sheet of plywood to the size of the top of our bench. Then, I cut a piece of thick foam to lay on top of it and covered the whole thing in batting. I flipped everything upside down so that the bottom of the base would be exposed and accessible for me to staple. I wiggled the foam out a bit for this picture so that you could see the different layers. I stapled the batting all the way around, being sure to pull the batting tight and trimming the excess when finished.

Then, I laid out the fabric face down, placed the cushion upside down on top of it, then stapled the fabric all the way around.
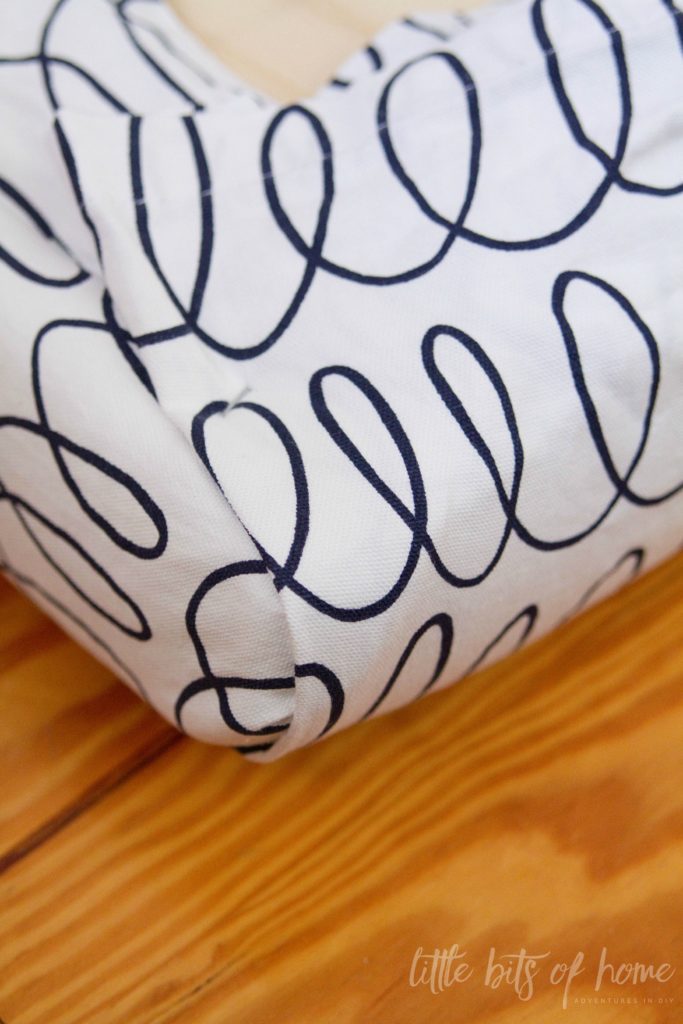
The corners are always tricky, so just take your time and fold and finesse them into a neat corner and secure with staples. I used about 5 more staples on this corner after I took this picture.
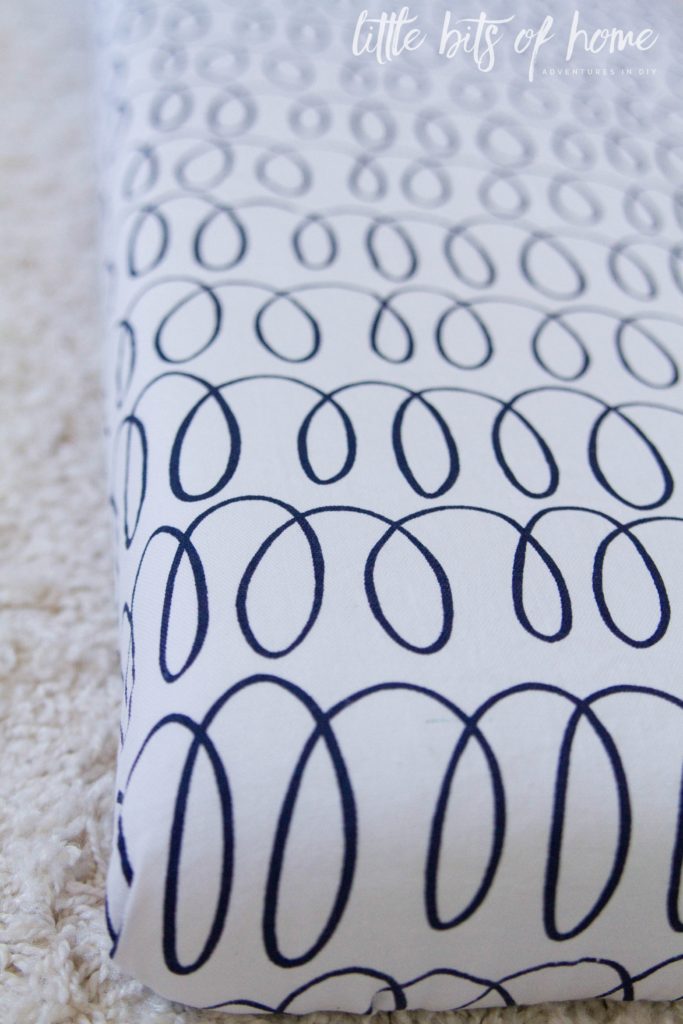
Trim the extra fabric, flip over, and ta-da! You have a cute, comfy bench cushion!
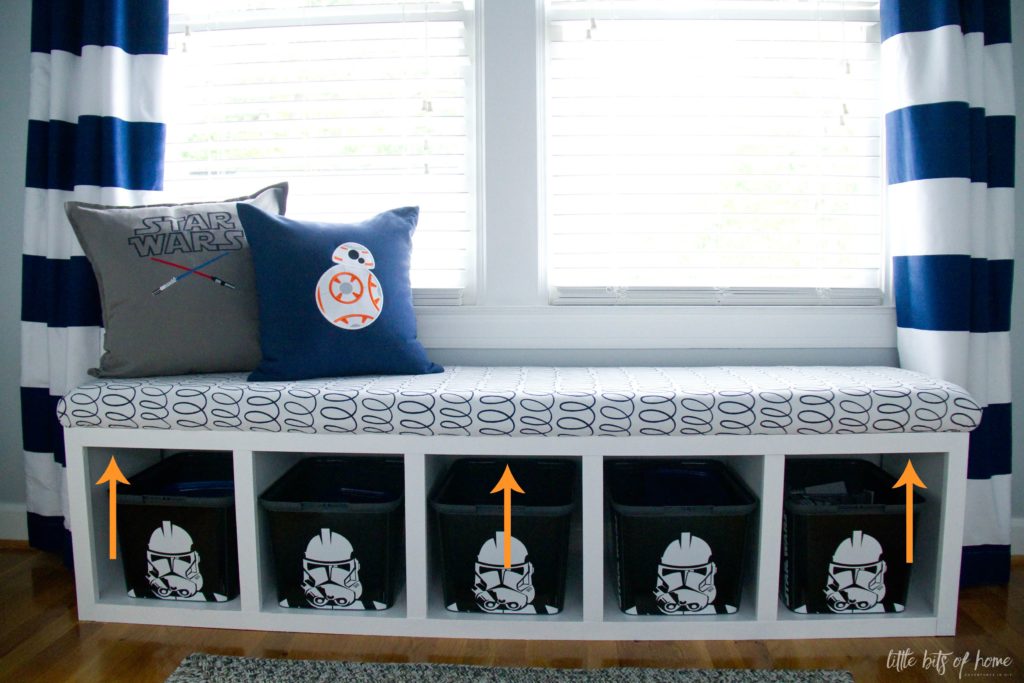
To attach my cushion, we simply laid it in place on top of our bench then screwed it in from the underside (see arrows in the picture below) making sure to use screws that were long enough to go through the bench and some of the plywood cushion base, but that didn’t go all the way through the base. Because screws poking you in the bottom aren’t my idea of a good time. 😉
Forgive me for the warping in the photo below. It was my first time using a wide angle lens for my home shots and I clearly didn’t have the hang of it. Ha! I promise the bench is straight in real life!
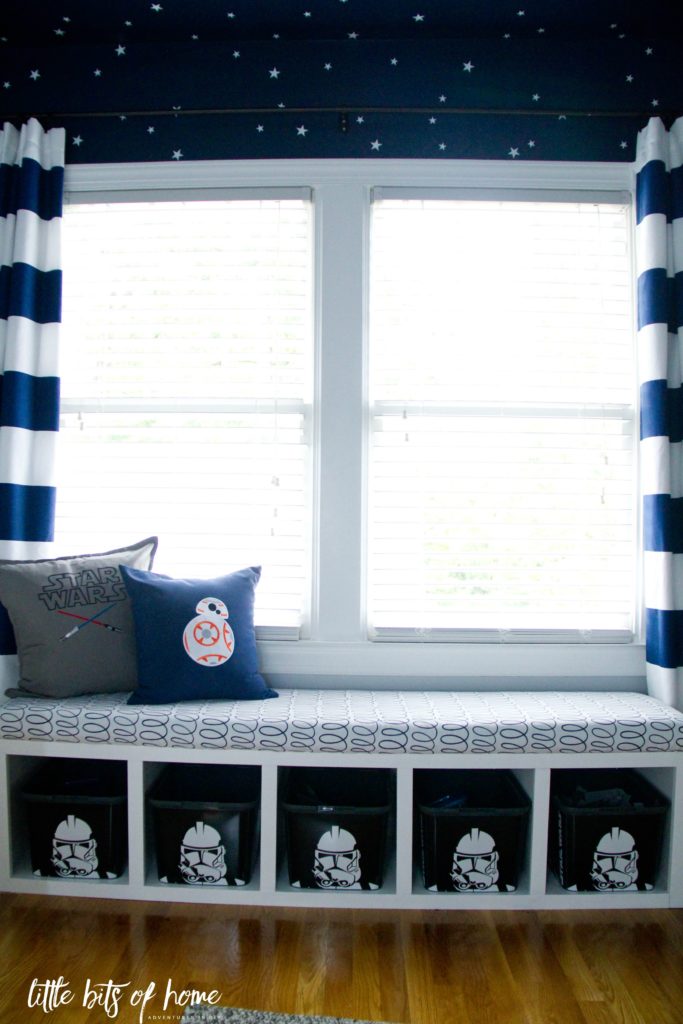
That’s it! I knocked this project out in half a naptime which is saying a lot considering my kids are horrible sleepers. 😉

Happy Upholstering!

Samantha, you have such a beautiful home, very charming and decorated so beautifully and classic. This bench is perfect for your kids room, I was reading the post, but I did not see where it was, is this your son room
Maria
Thanks, Maria! You’re so sweet! Yes, this is my son’s room that we redid for the One Room Challenge. 🙂 Hope you are having a great week!
This is really nice. I’m not a star wars fan, but I still love the color pallet so I like it.
Thanks for sharing this with us on the #HomeMattersParty. We hope to see you again next week when we open our doors at 12 AM EST.
How did you make your bench?