Remember in my last room update when I said I did something cool to our newly painted navy walls & ceiling? Any guesses what I did? I’ll give you a hint– it’s a Star Wars room… 😉
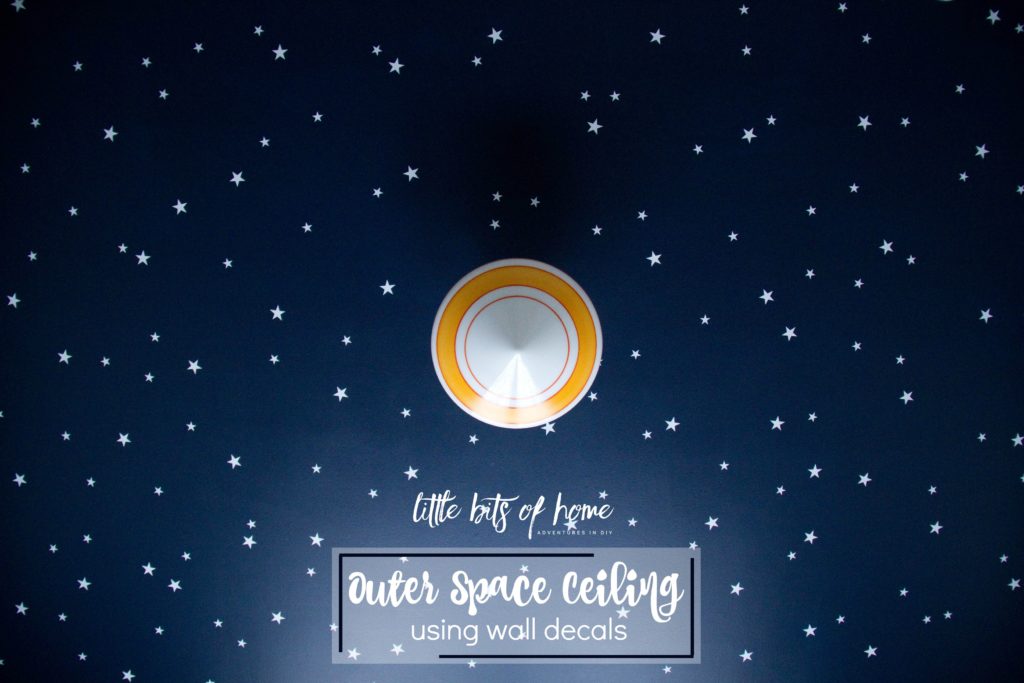
If you guessed stars, you are right!! The beautiful dropped ceiling we painted in Sherwin Williams Naval is now the backdrop to hundreds of stars! I mean, what’s a Star Wars room if you don’t feel like you’re in a galaxy far, far away, right?!
This project could not be any easier and turned out exactly like I had pictured in my head! I had initially thought of painting on the stars, but quickly decided against that because I don’t have that kind of time or patience. Ha!
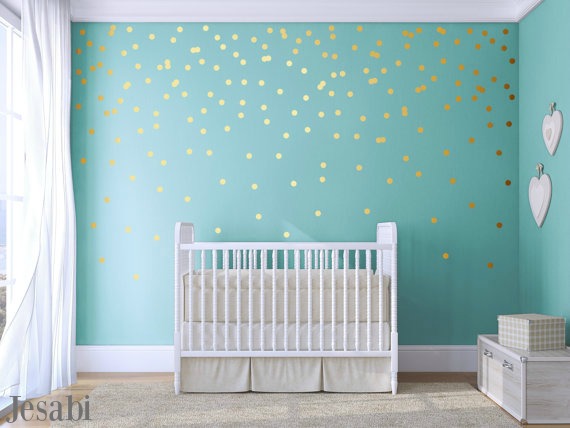
I turned to Etsy and searched for star decals that were less nursery looking and more on the realistic outer space side. I found a bunch of shops selling stars, but I kept coming back to this listing from Jesabi.
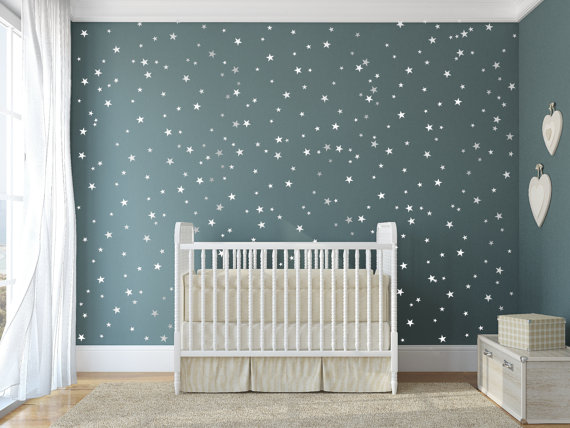
I loved the size variation in the stars and how they were arranged! I also loved that the individual stars had crisp corners instead of rounded corners, making them more appropriate for a realistic looking sky. I reached out to Jerusha at Jesabi and she agreed to collaborate with me for this post! Yay!
The listing was for a set of stars in three different sizes in your choice of 61 different color options. I decided to go with all white stars in just the smaller two sizes to get the look I was after. The stars came on large sheets and were super easy to apply! They’re literally just peel and stick! The larger designs in the shop come with transfer tape to offer stability and ease in the application process.
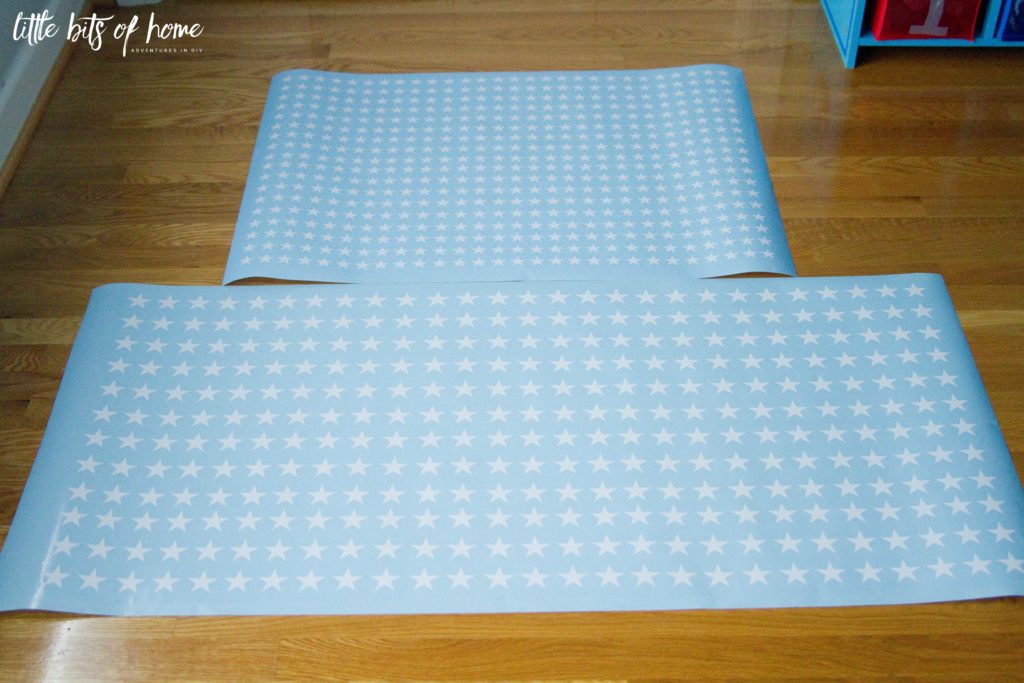
I started by randomly placing the larger stars.
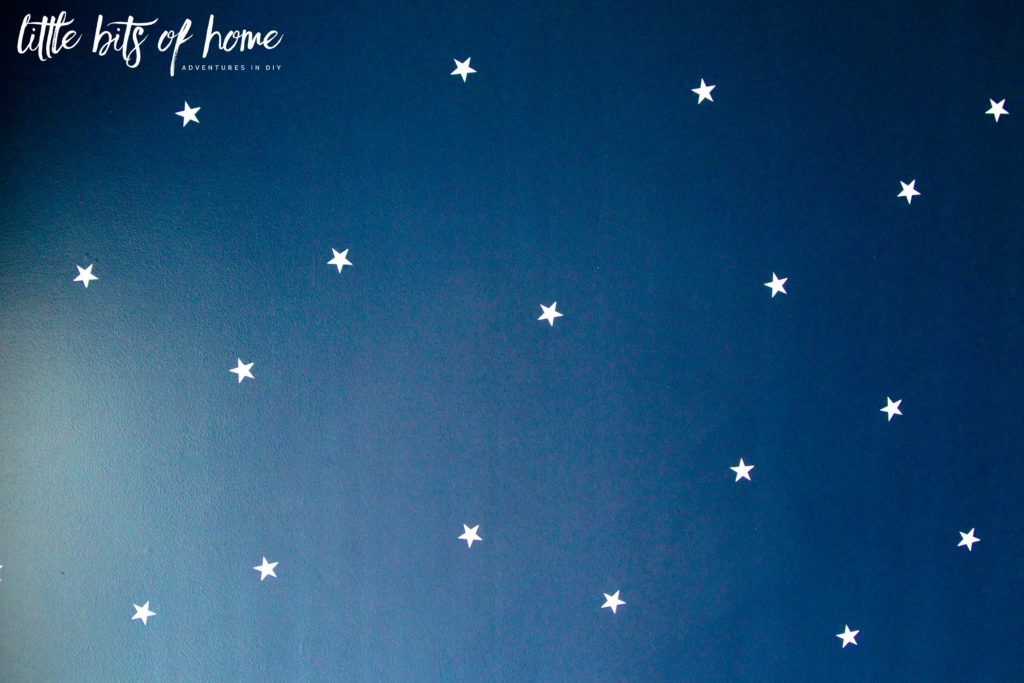
Then, I went back through and added in a bunch of the smaller sized stars. I ended up using more smaller stars than larger ones. I found that the stars looked more realistic when I placed the small stars in clusters instead of trying to space them out evenly.

Another tip that Jeremy suggested and worked out great was to work in quadrants. I did one fourth of the ceiling at a time. That way, I could keep track of how many stars I was using in each area, ensuring that one portion of the wall wasn’t more dense than another.
I just love how it turned out! I did the navy portion of the walls, too, but you’ll have to wait until Thursday to see those. Can’t spoil the reveal, now can I? 😉
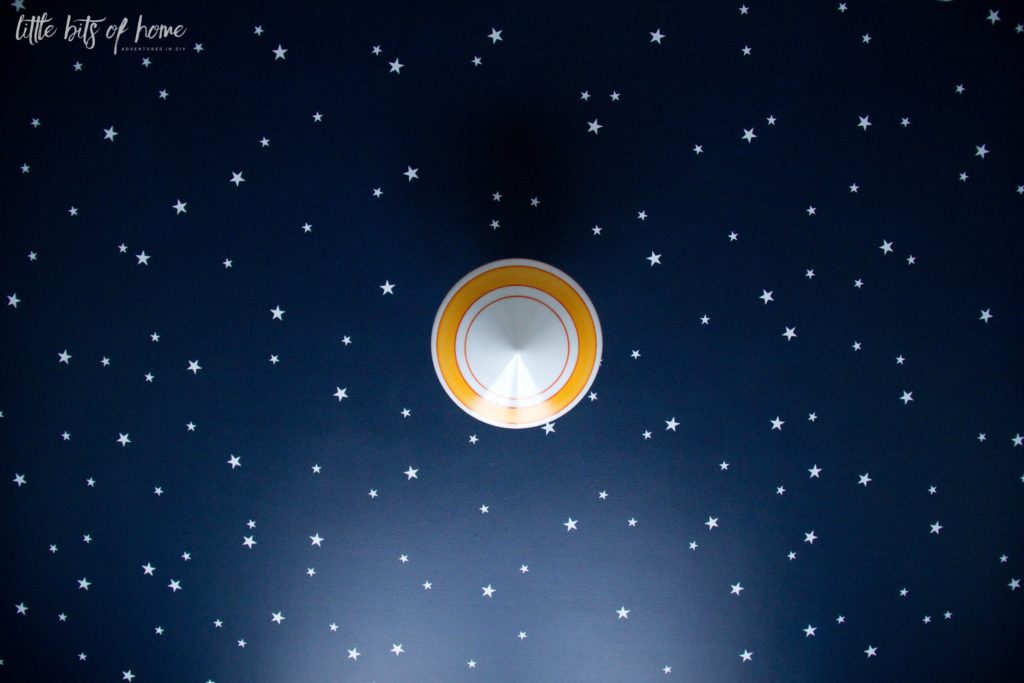
This is the first time I have ever used wall decals and I have to say, it was way easier than I thought it would be! It took me about 2 hours to apply the stars. Not bad when you consider that there are nearly 600 stars on the walls!
I am especially impressed with the quality of the vinyl. It is nice and thin so that when it is applied, it gives the appearance of being painted on. Love!
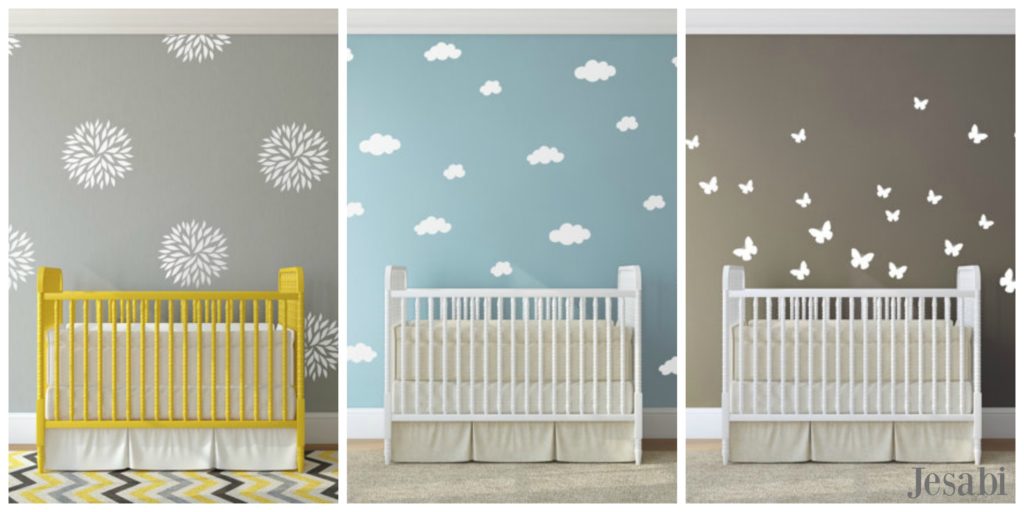
Check out some of the other awesome designs from Jesabi! I love how clean and modern they all are!
I love the selection of trees! Those birch trees against the navy walls are stunning!

These designs would be so beautiful in a nursery or child’s room!
Ahhh, these whales are just the cutest!

Be sure to check out all the other awesome designs over at Jesabi’s Etsy shop! Jerusha is so kind and great to work with and provides an awesome product!
Disclaimer: This is a sponsored post. All opinions are 100% my own. Thank you SO much to Jesabi for providing product for this post! I loved working with you and using your awesome decals!

Wow, Samantha!!! I love the dropped ceiling and the stars look amazing! Can’t wait to see it all, friend!! xo
Thanks, Kendra!!! I’ll be reading reveals for days! So much inspiration out there! 🙂
Is that crown modeling to separating the paint colors?
It is! I moved the skinny crown moulding down to separate the paint colors, but you could use any moulding!
I have always been mesmerized by the stars ceiling. Love it! thanks for sharing at Merry Monday.
Me, too! They’re my favorite!
Can you see the stars on the ceiling when the room is dark? I want to incorporate some ‘stars’ I found on Etsy. They are little domes that glow like real stars and add depth. I was hoping that they would be visible in the dark and the decals would be visible during the day (but not vice versa).
No, they are not glow in the dark. I found a few glow in the dark options similar to our stars, but they were a yellow-green color, not white. Interestingly, although ours are not glow in the dark, with the nightlight on, my son is able to see the stars when it’s dark in his room! He loves that!
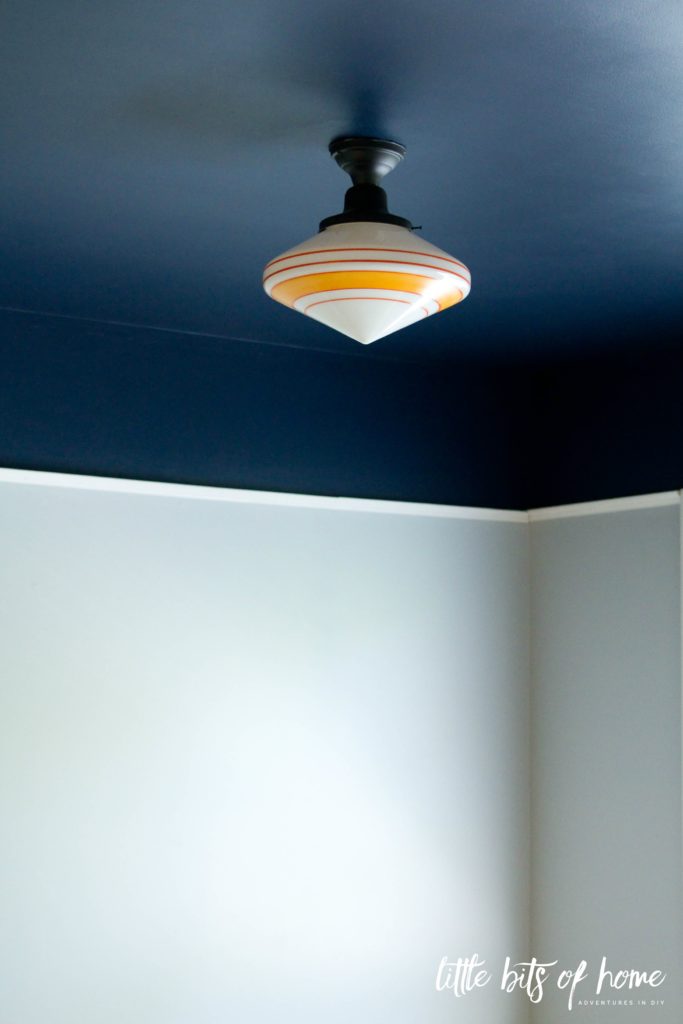
I am so in love with this room! Where did you get the ceiling light!!!
Thank you so much! It’s from Rejuvination! There’s a bunch of different options of base colors and shades. Ours looks like it’s the oil rubbed bronze base with the orange striped cone shade. Hope this helps! Here’s the link:
http://www.rejuvenation.com/catalog/products/jefferson-6in/configurations/black-enamel-w-14in-schoolhouse-black-stripe
How many stars are on the ceiling I am going to order and not sure how many I should get. Looking forward to using Etsy! Thanks!!
We used about 600 on the ceiling. We ordered them in just medium and small, no large stars. Hope that helps!
I plan on doing this in my 2 boys’ rooms… yours turned out amazing! I’m so happy I came across your post. question: did you get them in silver or are those white?
Thanks so much! I hope your boys love them! We ordered them in all white. Hope that helps!
Love this and we are Looking to do this for our little man’s room, do you know how difficult they will be to remove when we want to redecorate in the future?
Thanks
Kate
Sorry, I missed your comment! I actually don’t know. Right after applying, they aren’t hard to get off, but not sure after they’ve been on for years. Eeek! 😉 Crossing my fingers I won’t be cursing those stars when my son outgrows them! Haha!